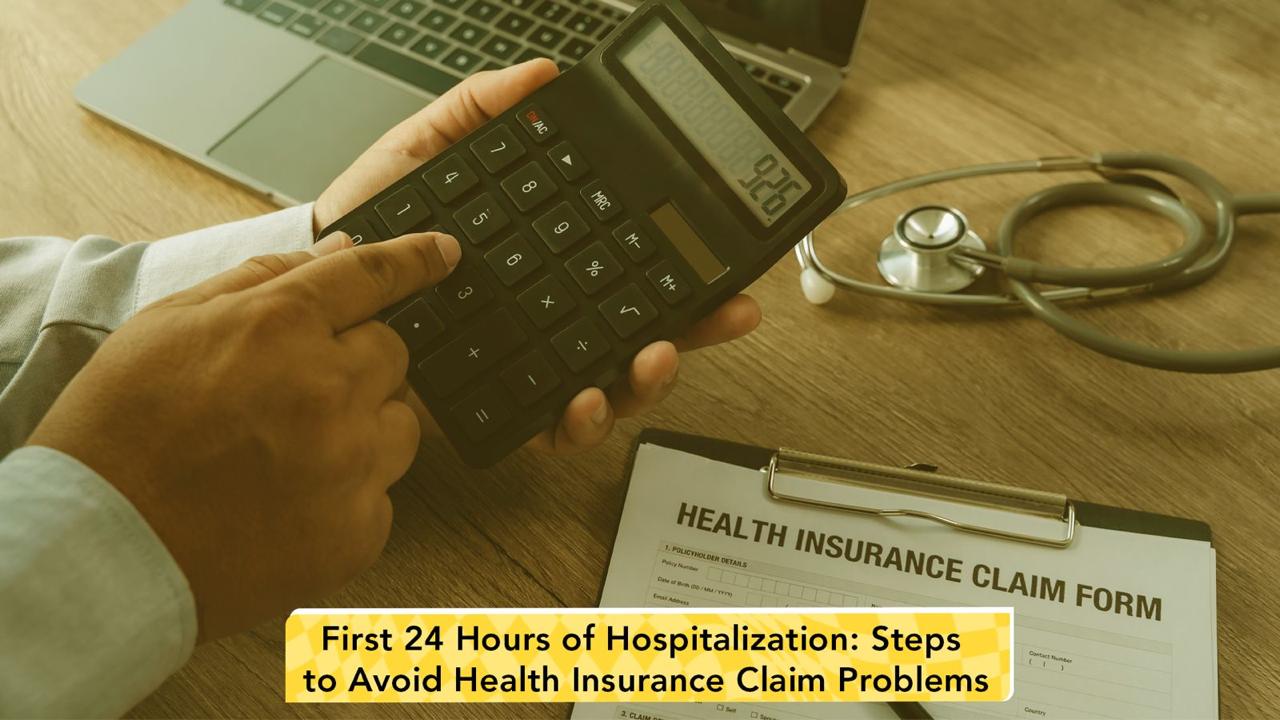
A sudden hospital admission can turn a normal day into a stressful one. Between doctors, tests, medicines, and family members trying to understand what is happening, insurance paperwork may feel like the last thing you want to think about.
The first 24 hours of hospitalization are crucial for taking the right steps to support a smooth health insurance claim.
Having a health insurance policy does not automatically mean every hospital expense will be paid. Your insurer will check whether the treatment is covered, whether the hospital is eligible for cashless treatment, whether the required information was provided, and whether the expenses meet the policy conditions.
This guide explains the key steps to take in the first 24 hours to avoid common health insurance claim issues and make the health insurance claim process easier.
Start Your Health Insurance Claim Without Delay
Inform your insurance company or Third-Party Administrator (TPA) about the hospitalization as soon as possible. Keep your policy number, patient details, hospital name and admission information ready.
Once the claim is registered, save the claim-intimation reference number. You may need it when following up on your health insurance claim process.
Example: Your mother is admitted unexpectedly at 10 p.m. You inform the insurer and receive a claim reference number. The next morning, when you want to check whether the request has been received, that number can make the follow-up much easier.
Early claim intimation is an important part of managing a claim, although the exact notification requirement can vary according to the policy.
Get Cashless Pre-Authorisation Moving Quickly
For cashless hospitalization, ask the hospital insurance desk to start pre-authorization as soon as possible.
Pre-authorization is the insurer’s initial approval process. The hospital sends the diagnosis, proposed treatment and estimated expenses to the insurer or TPA for assessment.
Remember, a cashless claim does not mean every expense is free. You may still have to pay co-payments, deductibles, non-payable expenses or amounts outside your policy coverage.
Pro Tip: Ask the hospital insurance desk whether the pre-authorisation has been submitted and whether any additional documents are required.
Check Your Hospital’s Network Status Before Assuming Cashless
Do not assume that every hospital provides cashless treatment.
Ask whether the hospital is a network hospital for your insurer and whether cashless treatment is available for your particular policy and treatment.
If cashless treatment is unavailable, you may need to pay the hospital first and later submit a reimbursement claim, depending on your policy terms.
Quick Insight: Having health insurance and getting cashless treatment at a particular hospital are two different things.
Keep Your Insurance and Medical Documents Ready
Carry your health insurance card, government ID, policy details and previous medical records.
Previous prescriptions, test reports and scan reports can help the hospital provide accurate information to the insurer.
Always share the correct diagnosis and medical history. Do not hide previous illnesses or provide incorrect information just to make a claim appear eligible.
Accurate information can help prevent questions and delays during claim assessment.
Understand Your Room Limit and Out-of-Pocket Costs Early
Before selecting a hospital room, check your policy’s room rent limit.
If you choose a room above your eligible limit, proportionate deductions may apply to other hospital expenses, depending on your policy.
Example: If your policy allows ₹3,000 per day but you choose a ₹6,000 room, you may have to pay more than just the difference in room charges if proportionate deductions apply.
Also ask for the estimated bill and check co-payment, deductibles, sub-limits and non-payable expenses early.
Pro Tip: Ask the hospital insurance desk how much you may have to pay from your own pocket before upgrading the room.
Make Sure the Diagnosis and Medical History Are Correct
Insurance claims are assessed using medical records and treatment details. Therefore, check the information provided in the pre-authorisation or claim documents.
The diagnosis, reason for hospitalization, treatment and medical history should be accurate.
Do not ask anyone to change medical information to make the claim appear eligible. If the information in the claim form does not match prescriptions, investigation reports or hospital records, it can lead to questions and delays.
When something is unclear, ask the doctor or hospital insurance desk to explain it before signing.
Create a Safe Place for Every Medical Document
Do not wait until discharge to start collecting documents.
Keep prescriptions, investigation reports, admission notes, doctor’s advice, pharmacy bills, hospital bills and receipts together. At discharge, collect the discharge summary, final bill, detailed bill and payment receipts.
These documents can become important if you need to complete a health insurance claim settlement or submit a reimbursement claim.
A simple physical file is useful, but you can also scan important documents and save them in a dedicated folder on your phone or cloud storage.
Think of it this way: your claim is a story, and your documents are the proof.
Get a Clear Explanation if Cashless Approval Is Delayed or Denied
If the insurer or TPA does not approve the cashless request immediately, do not panic.
Ask the hospital insurance desk for the reason and, where available, request the explanation in writing. The insurer may need additional medical information or documents before making a decision.
Also remember that pre-authorisation approval is not necessarily the final claim settlement. The final amount can depend on the actual treatment, bills and policy terms.
If cashless treatment is not approved, ask whether you can proceed by paying the hospital and later submit a reimbursement claim, subject to the policy conditions.
Think Twice Before Upgrading Your Hospital Room
A private or upgraded room may look more comfortable, especially when someone is hospitalized for several days. But comfort today can sometimes mean additional expenses later.
Before upgrading, check the room eligibility under your policy and ask whether the upgrade can result in proportionate deductions.
If the hospital says, “It is only an extra room charge,” do not assume that is the only possible financial impact. Check your policy terms or ask the insurer.
Keep One Simple Claim Folder From Day One
Finally, create a single folder for everything related to the hospitalization.
Keep the claim reference number, insurance correspondence, pre-authorisation documents, hospital bills, receipts, prescriptions, test reports, discharge summary, and payment proofs together.
This simple habit can save you from searching through WhatsApp messages, email inboxes, and paper files when the claim needs follow-up.
Final Takeaway
If you remember only a few things, remember these: inform the insurer, start pre-authorisation if cashless treatment is required, confirm that the hospital is in the network, check your room eligibility, and keep all important documents.
Hospitalization is already difficult. Your insurance claim should not become another source of stress because of avoidable mistakes.
You do not need to understand every insurance term before entering a hospital. You simply need to ask the right questions, provide accurate information, and keep proper records from the beginning.
Those small steps taken in the first 24 hours can make the health insurance claim process clearer, smoother, and easier to manage when you need it most.